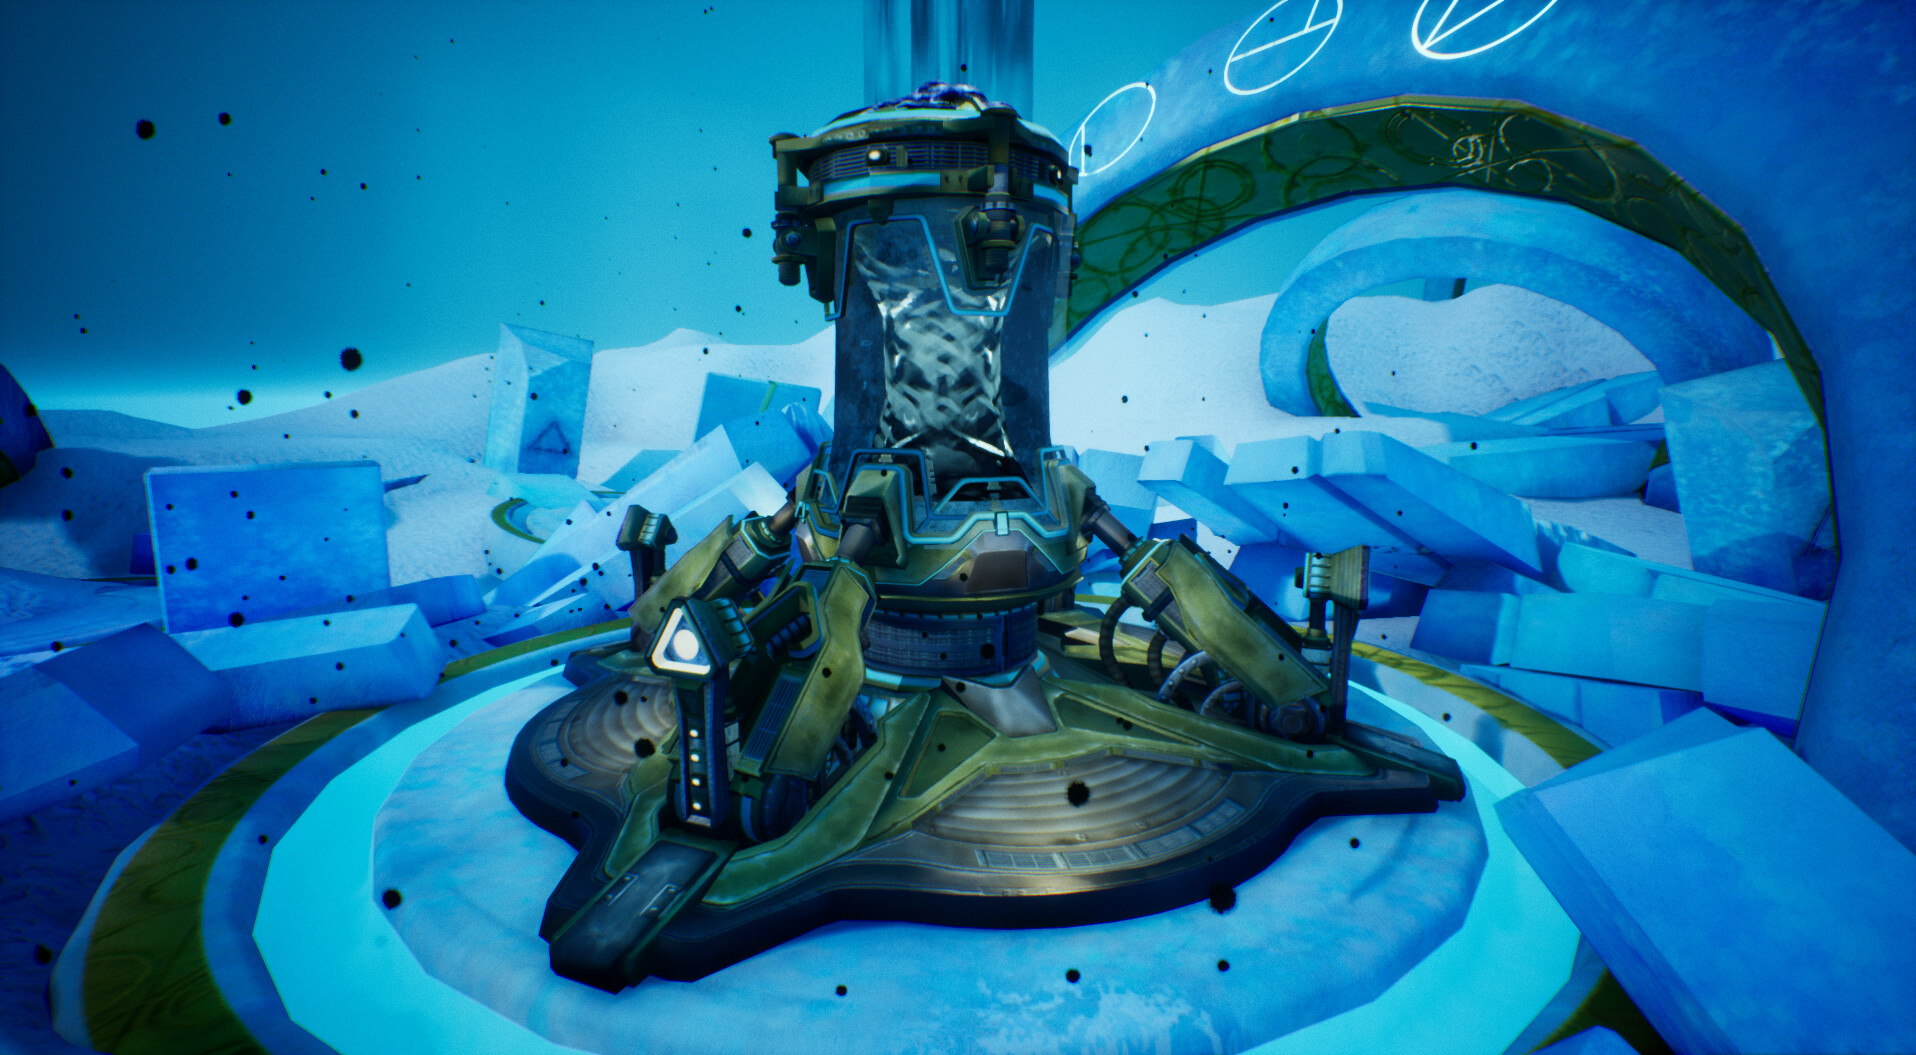
Gambit Bank - Destiny 2 fanart (UE4)
I played way too much Gambit when that game mode launched in Destiny 2, so trying out a Gambit-themed prop and environment for my first fanart project seemed like an obvious choice. Credit to Ethan Scheu and the art team at Bungie for making such a cool hero prop, I learned so much from making this piece.
It was a bit tricky figuring out the right workflow, but going for something a bit more stylized and less gritty than the original was a good call in the end, I'm so proud of how nice it turned out! This was my first time doing complicated VFX shaders in Unreal too. I'd like to think I managed to stay true to the original while still giving it an interesting handpainted, old school art style.
GambitBank Fanart (UE4)



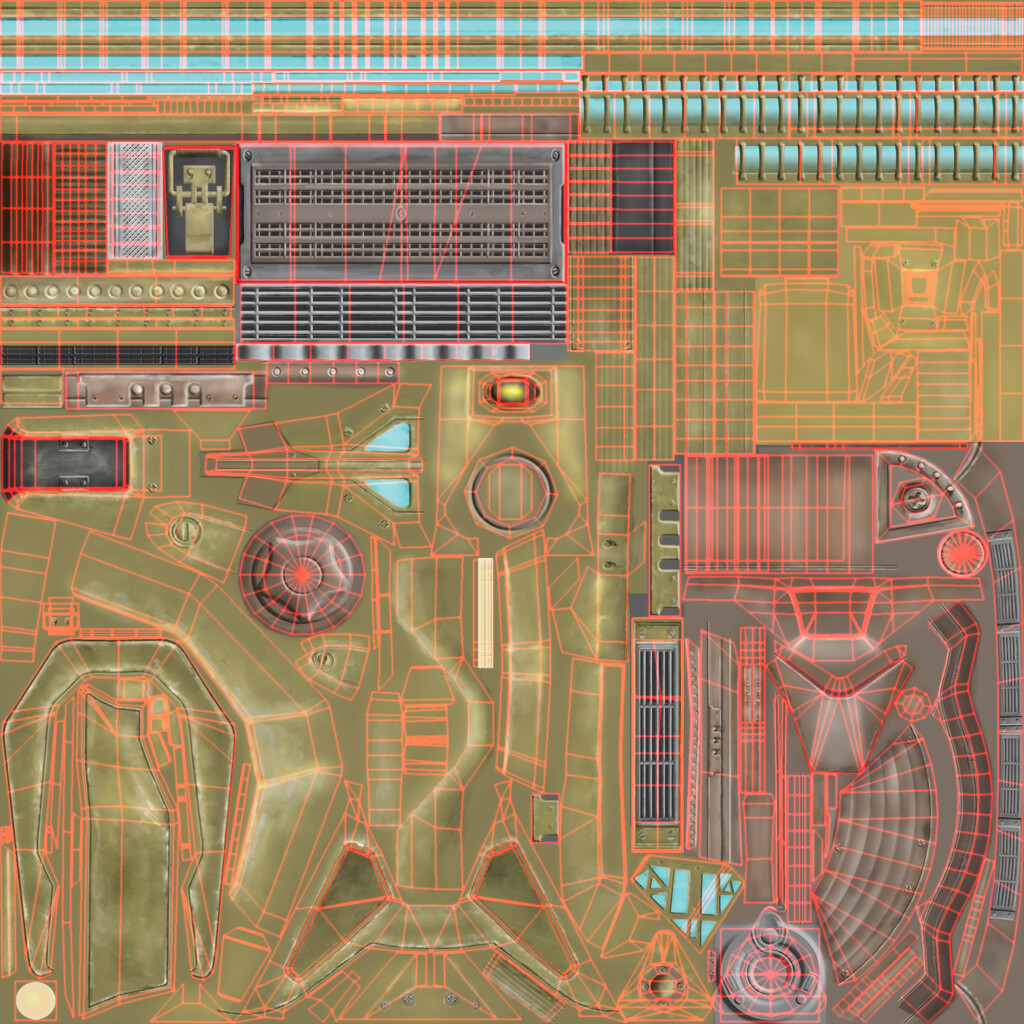
Here's the diffuse Gambit Bank texture at half size with UV layout - placing UVs by hand was tedious but I ended up with a very efficient layout which made texturing pretty quick and straightforward. Gambit Bank textures were 2k, all other assets were 1k.

Normal map for the Gambit Bank, all placed by hand in Photoshop from a highpoly normal atlas baked out from Xnormal. Placing everything manually was a little tedious but worth it for the nice crisp results.
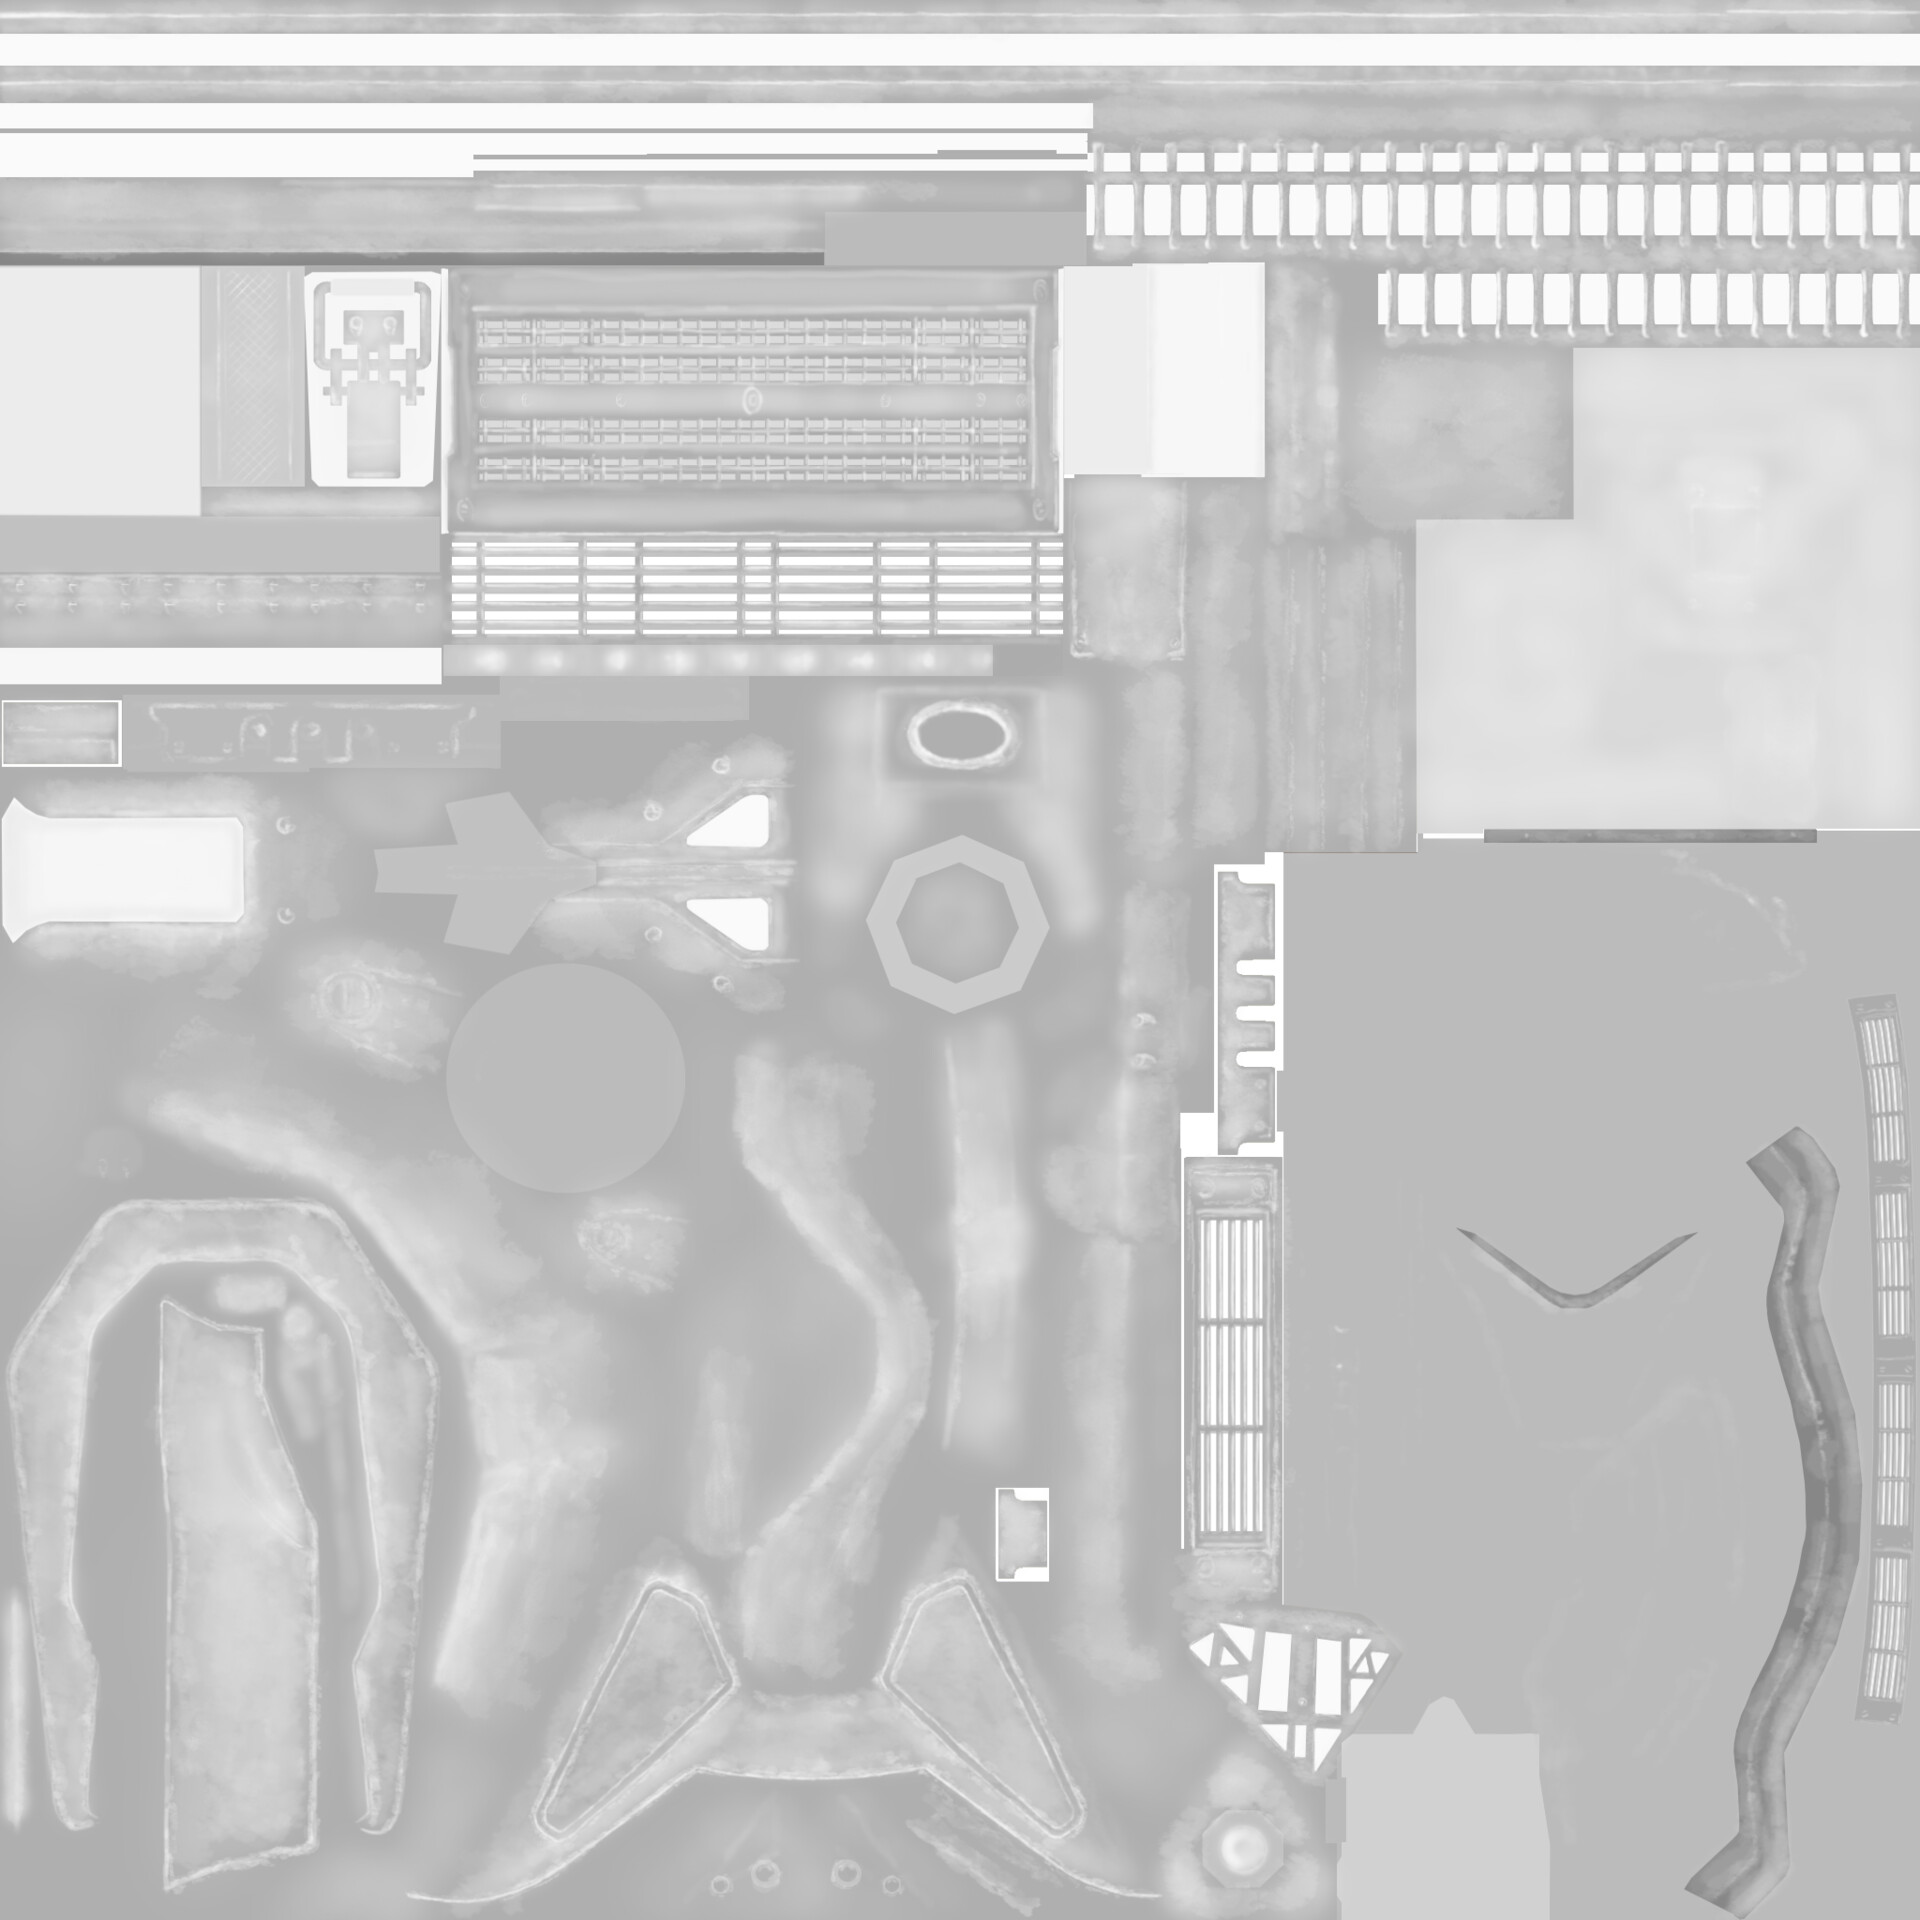
Gambit Bank roughness map. I wasn't worried about photorealism for this project, so I made this map by adding B/W, Curves, Levels etc adjustments to different painted layers from the diffuse texture.

Material Setup for the Gambit Bank - a simple diffuse/norm/rough set with a multi channel texture for emissive, metal, alpha and additional mask
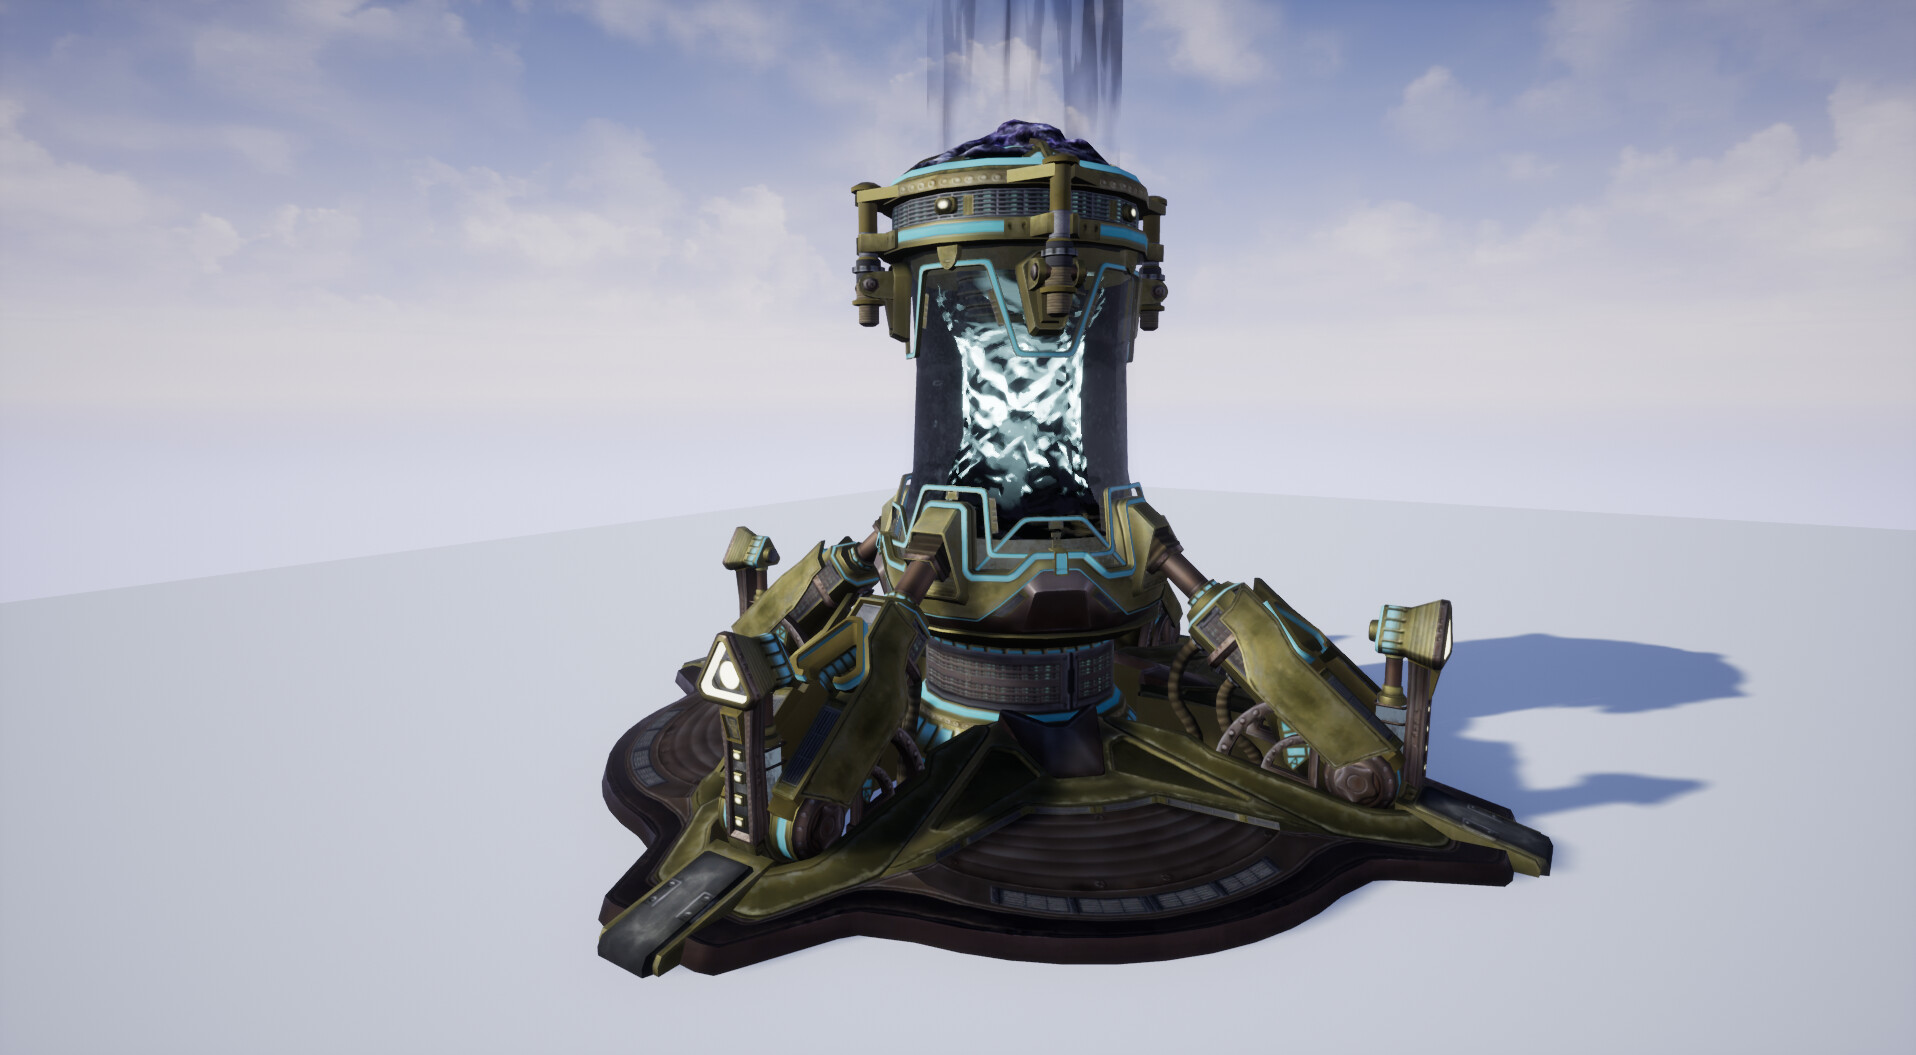
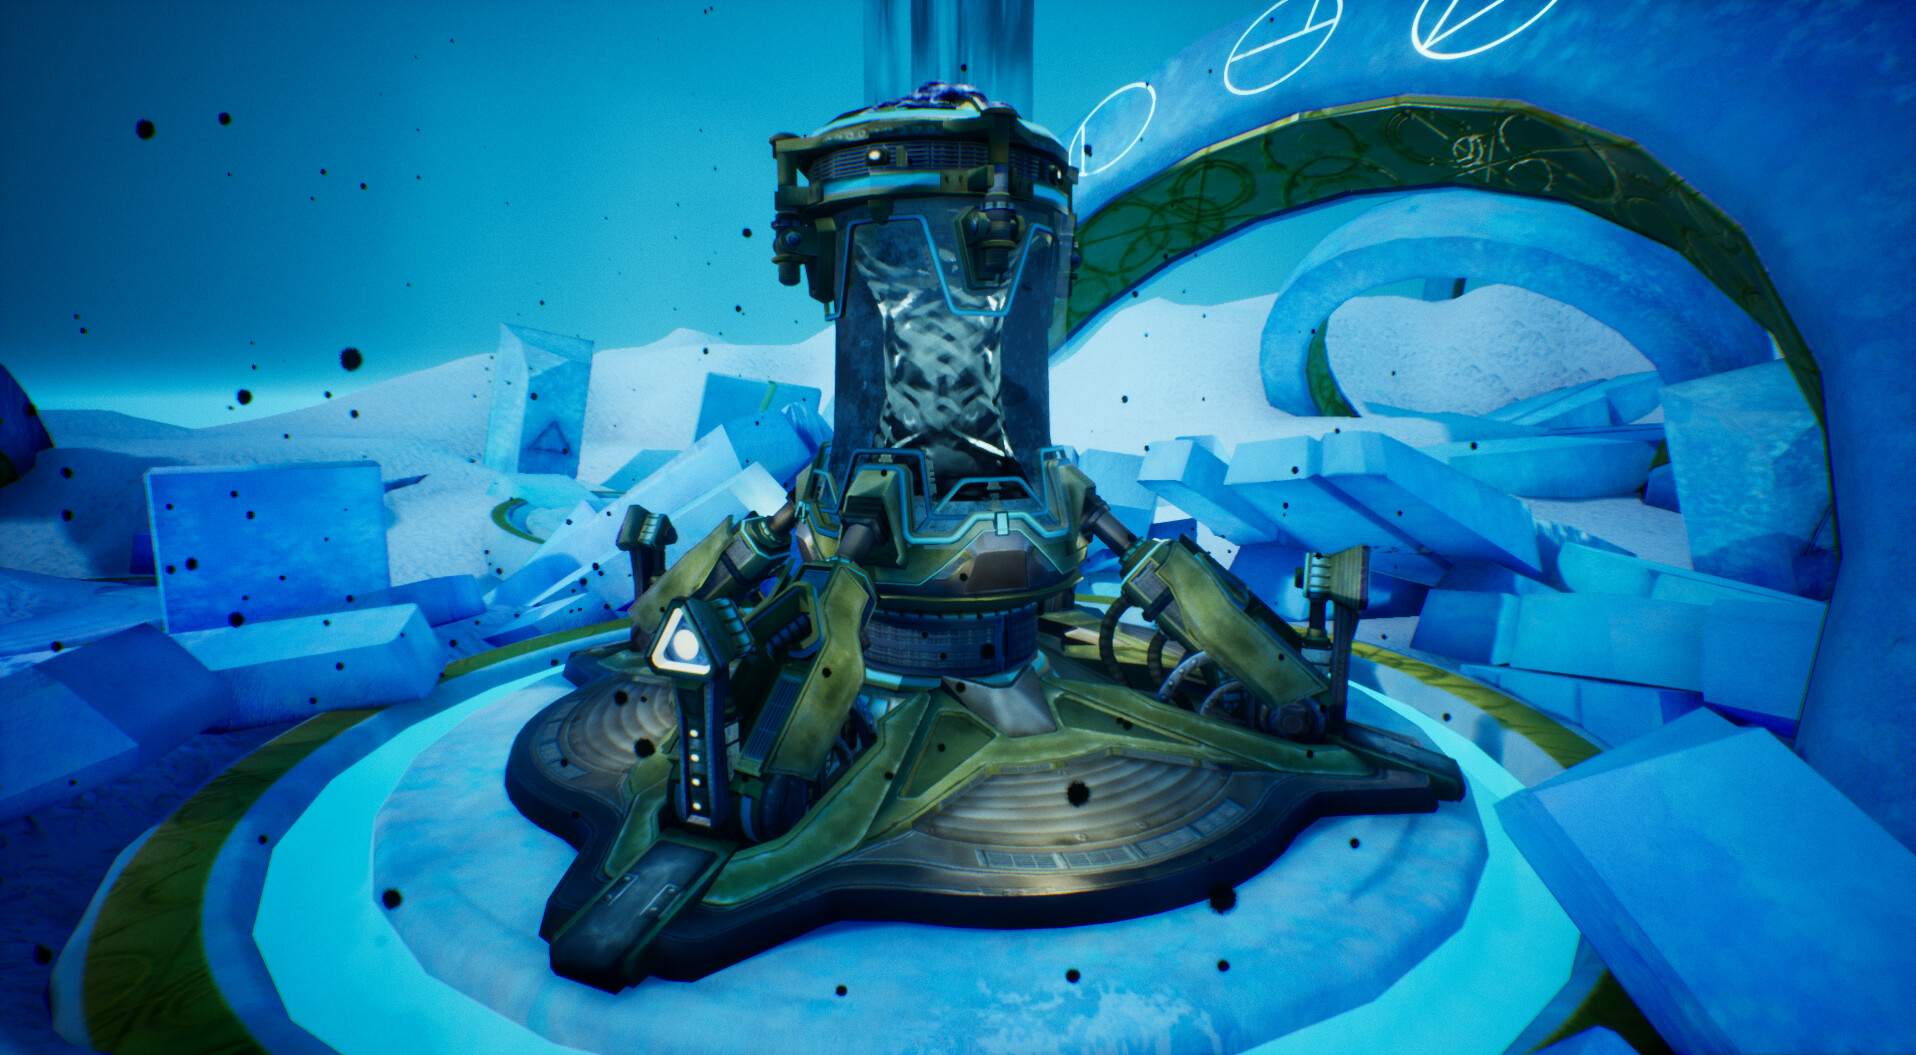
Here's the Gambit Bank in its natural habitat without postprocess applied

There's a slight emissive panning texture behind some of the vents on the bank, using a material function controlled by a mask in the multichannel texture

Asset layout for the scene - this was a very small modular project, with the environment inspired by Destiny 2's Reckoning gamemode and Unknown Space maps

Additional decal used in the scene to add some extra noise to the assets around the bank and disguise the modularity of the environment

The material setup for the main VFX inside the bank. Everything is parameterized for easy customization.

I used an instance of the main VFX texture for the smoke coming off the top of the bank - I had a lot of parameters available so it was very quick, easy and cheap to change it, with great results in the final render.

Material setup for the Taken sprite particle - I used radial gradients and broke up the outer edge with a single noise texture file set to slowly pan, rotate and warp.

The three symbols on the arch are just three planes textured using parameterized instances of the same master material - I set up parameters allowing me to switch between the three channels of the input texture to put a different symbol on each plane.

Material setup for the symbols master material.